Secrets to Becoming a Tunnel Ninja
Indoor Skydiving
6 years ago
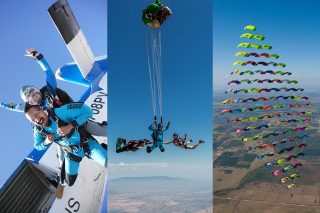
If you’ve ever stood at the glass and watched a true tunnel ninja shred the gnar, you know the feeling: total dumbfoundedness. How did they get from an awed spectator to the point where physics has apparently become a mere suggestion? And how can you follow in those 3D footsteps? The tunnel here at Skydive Perris has been home to some of the best tunnel fliers the world has ever known, so we can speak knowledgeably about that long and challenging journey. Ready? Here’s how to get started on the right foot.
1. The Progression Has Your Back (And Front, And Arms, And Legs).
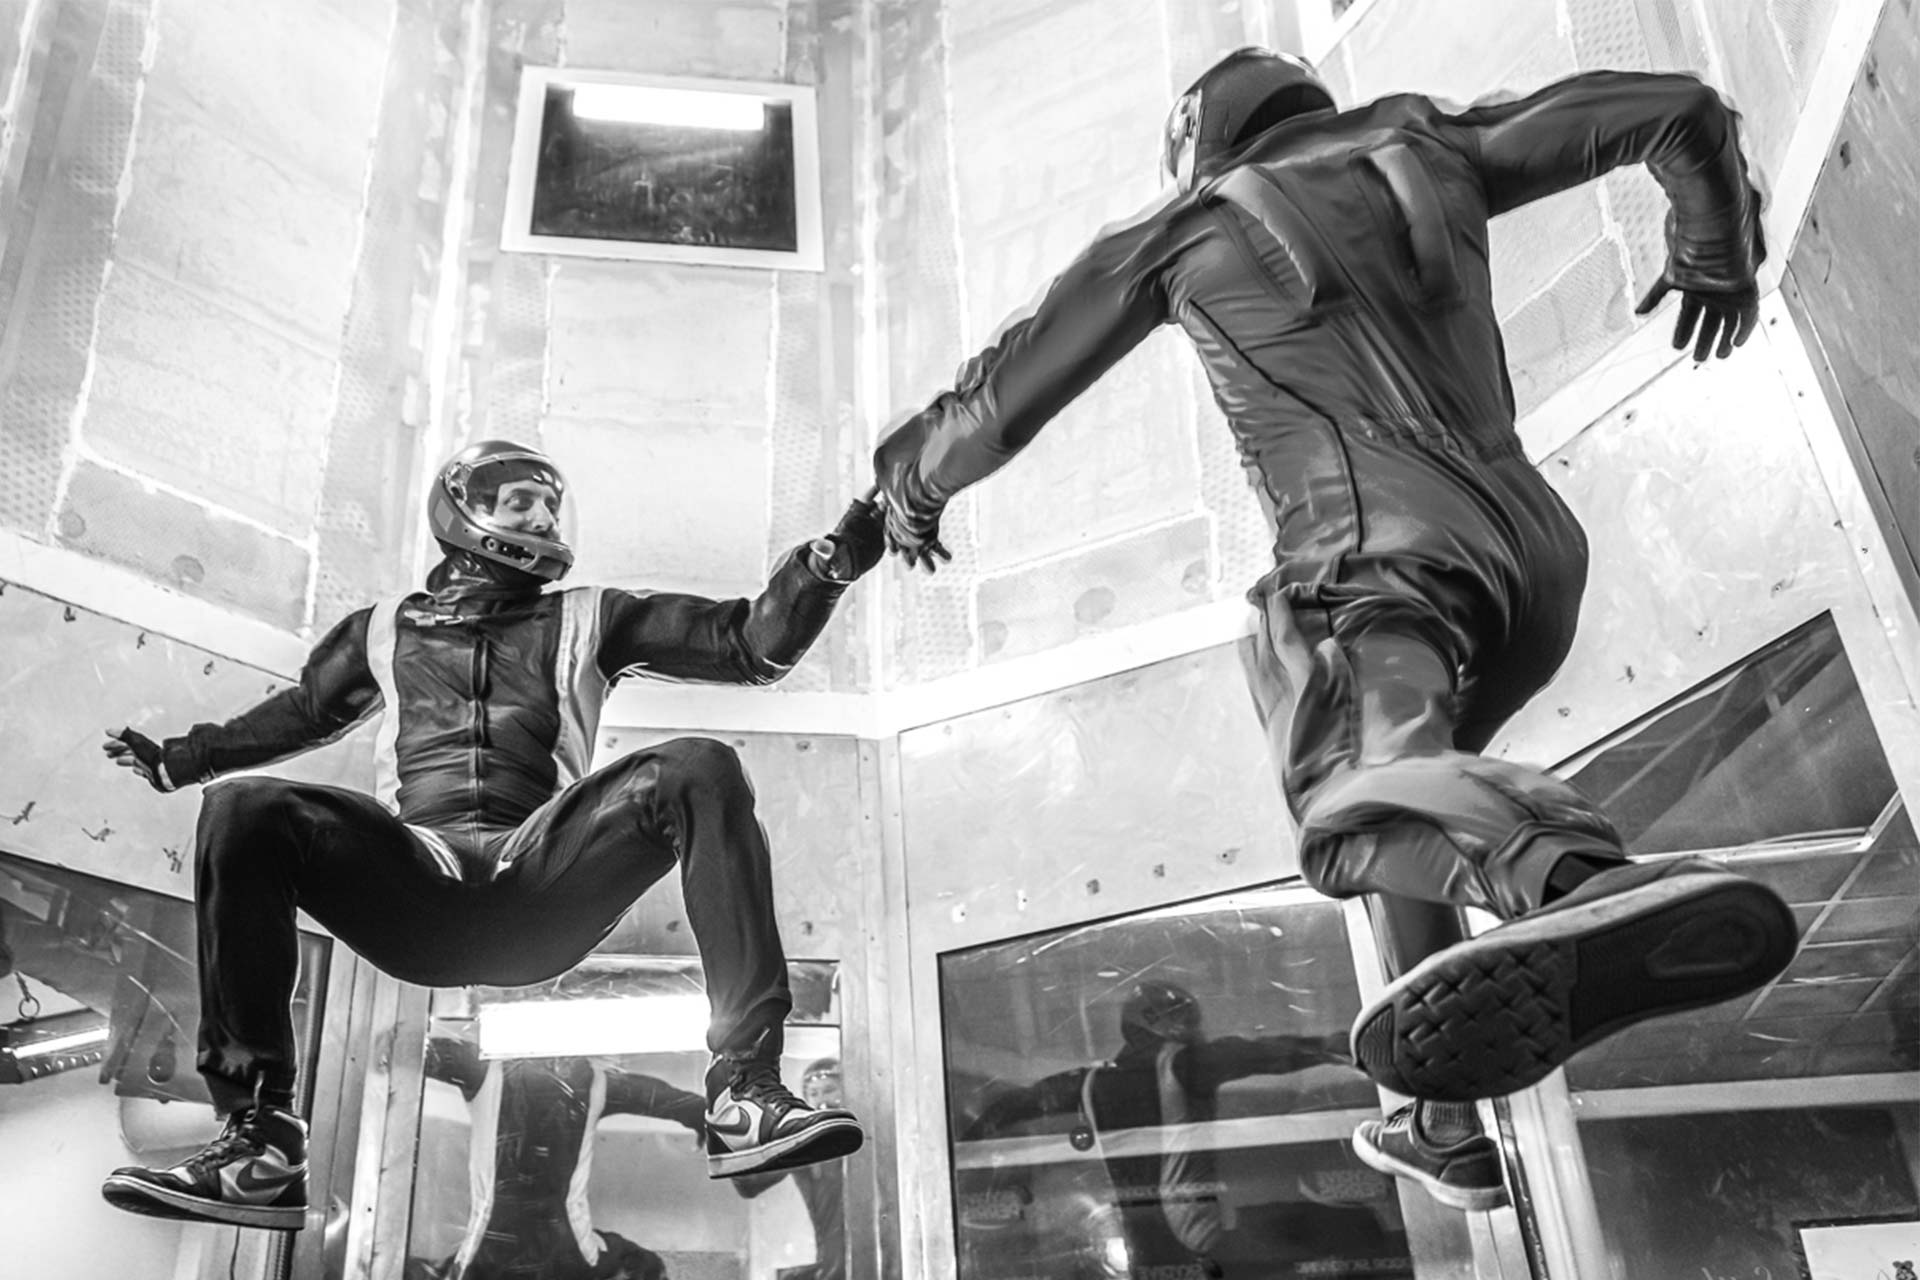
Even if you’ve been skydiving for a long time, you’re going to take the same path of progression in the vertical “indoor skydiving” wind tunnel as everybody else has: from belly to back to sit to head-down to zoomy dynamic flying (which revolves around the fluid transitions and multi-directional configurations that make wind tunnel flying so riveting to watch).
Most new tunnel fliers want to move through the progression as quickly as possible, but take it from us (and everybody else who’s ever gotten good): respecting the progression is the only way forward. In the tunnel, there’s very little room for error, and every detail counts.
2. Kit Matters.
If you’re a beginner and don’t have tunnel flying gear of your own yet, don’t worry about it too much: helmets, goggles and jumpsuits are available at no rental charge. If you do have your own gear, however, bring it along. Having your own gear adds quite a bit of comfort and ease to the experience, especially if your suit is on the fitted side and your helmet is a full-face.
Our favorite insider tip to pass along is about — surprise! — your hair. If you’re borrowing a student helmet and your hair is more than an inch long at any point, bringing a Buff wrap or a light stocking cap will save you hours of detangling despair on the other side of your flight time.
3. Aim For Consistency And Slow, Steady Progress.

Here’s the honest truth, y’all: learning to fly in a wind tunnel takes a lot of time. If you really want to be a tunnel ninja, you’re going to need to spend a lot of time in the airflow. Most tunnel flying coaches suggest flying at least once a week to progress meaningfully and keep your skills sharp.
You can optimize that weekly session for best results. The best plan is to start with a couple of ten-to-fifteen-minute sessions, planning at least a half-hour’s rest in between. When you can fly that time without getting tired, add another one. Flying more than that, especially at the beginning, overextends most fliers’ muscular and cognitive capability.
4. Be Nice To Yourself.

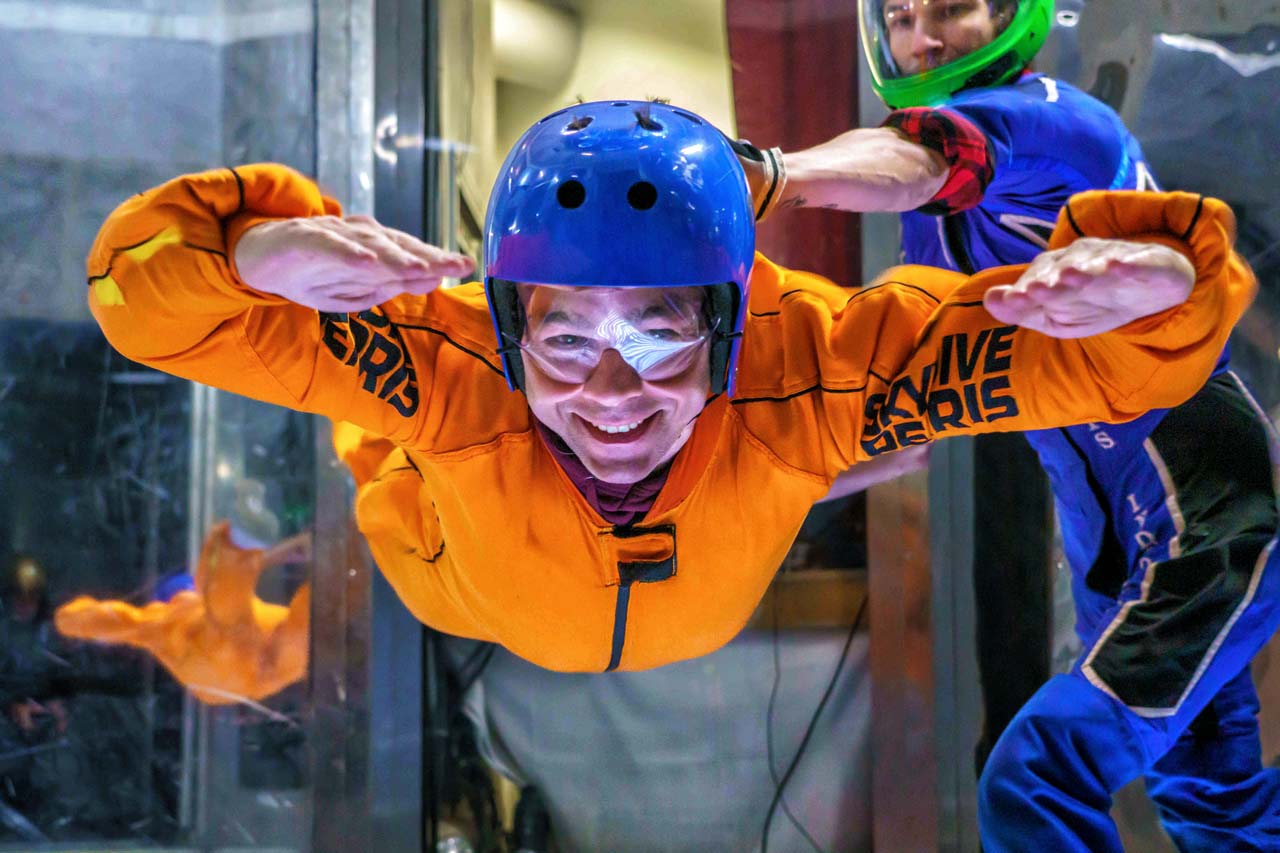
Being told to “relax” by your tunnel coach will start to take on an inside-joke quality after a while. Frankly, at first, relaxing won’t feel remotely possible. It’s not just you.
Everyone starts out tense. That’s just part of the journey! With that being said: The sooner you’re able to relax into the arms of the wind, the smoother and more efficient your tunnel progression will become.
As much as you should avoid fighting the wind, you should avoid fighting yourself. Learning to fly in the wind tunnel is humbling. The moves are challenging, and the audience is always there. Remind yourself, as you try and try again, to smile. Trust us — it helps. And someday, you may be wearing that smile to accept a great big tunnel flying trophy! When that happens, we’ll be right there cheering for you in the front row.
You May Be Interested In:
Is Indoor Skydiving Worth the Cost?
1 year ago by Skydive Perris

Indoor Skydiving Tricks Explained
2 years ago by Skydive Perris

Indoor Skydiving’s Accessibility Gives Everyone the Opportunity to Participate
3 years ago by Skydive Perris

How To Become A Wind Tunnel Instructor
3 years ago by Skydive Perris